Pumpkin carving is a wonderful tradition for lots of families but when time is not on your side, it can be verging on impossible to pull off. However if you plan ahead and make use of a few clever tricks, you will be able to achieve outstanding designs with minimum fuss. If you want to carve a spooky pumpkin on Halloween or don’t want to scare your child and want some family-oriented designs, these methods will help you get the most out of your pumpkin carving experience.
1. Find Tools Designed Specifically for That Purpose
There is a huge difference between a professionally designed carving kit and a normal kitchen knife and this normal everyday tool can save you from trouble. These kits contain tools such as little saws, scoops or fine-pointed knives that are safer and better than using a kitchen knife. You can find a pumpkin carving kit near you at local craft stores or you can find them online and get them delivered to your home.
If time is an issue, then just everyday objects around the house could achieve a similar ending. An ice cream scoop cleans the insides of the pumpkin quite effectively while a few cutter shapes will make easy and effective designs. For those who have more specific designs such as patterns, cutouts, paper crafts or other designs, there are thousands of instructions and templates available, from quick pumpkin designs to very complex instructions on ghastly pumpkin carvings.
2. Make the Design Approach Easier

With busy families, it doesn’t take too long to think of what needs to be done to be creative. A quick and easy pumpkin carving will do. Of course, a brief search on the Internet will most likely provide thousands of simple house design ideas.ranging from goofy faces to traditional jack-o’-lanterns. Stencils are particularly helpful here, as they save time and reduce the need for freehand drawing.
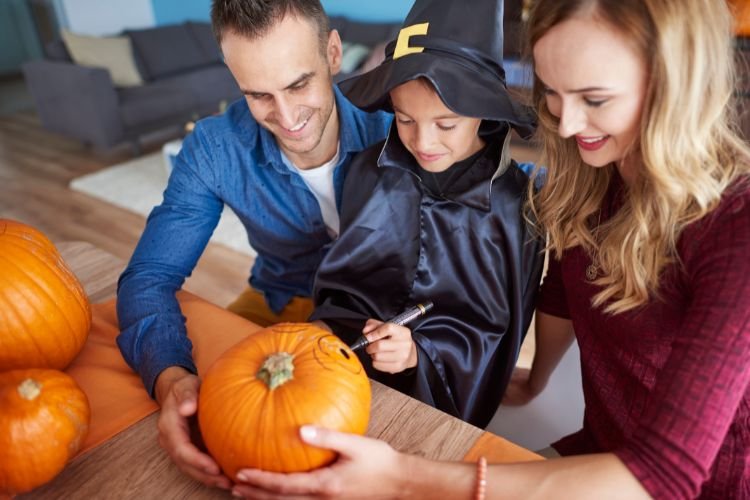
For younger kids, let them trace or color the pumpkin before you start carving. This makes them feel involved without putting them near sharp tools. Meanwhile, parents can take on the task of cutting out the designs. If you’re feeling adventurous, try layering techniques like shallow etching to create textured effects without fully cutting through the pumpkin.
Also Read: 5 Stunning Pumpkin Painting Ideas to Try This Fall
3. Optimize your pumpkin carving experience
Efficiency is key for busy families, and a few simple steps can go a long way:
Clean up your work area beforehand:
Cover your table with newspaper or plastic to remove debris. If you plan to roast pumpkin seeds later, set aside a bowl for the pumpkin seeds.
Lighting Packages:
Electric torches are a safe and quick way to light your creation, especially if you’re looking for awesome pumpkin carving patterns.
Work with precision Pumpkins:
Choose medium-sized pumpkins with smooth surfaces to make carving easier. Thinner walls are easier to cut and are great for those creative spaces.
Bonus: Tips for adding a creative edge
Mix and Match:
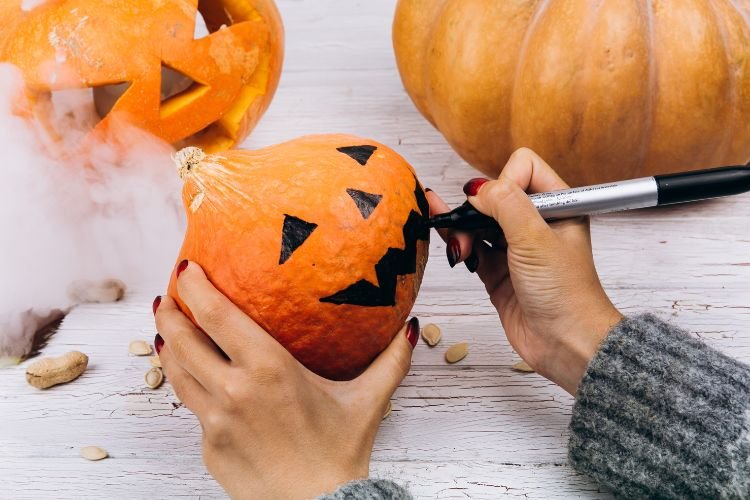
Use paint or markers to add to the carving for a creative, less messy look. Great for families with young children who aren’t yet comfortable with old tools.
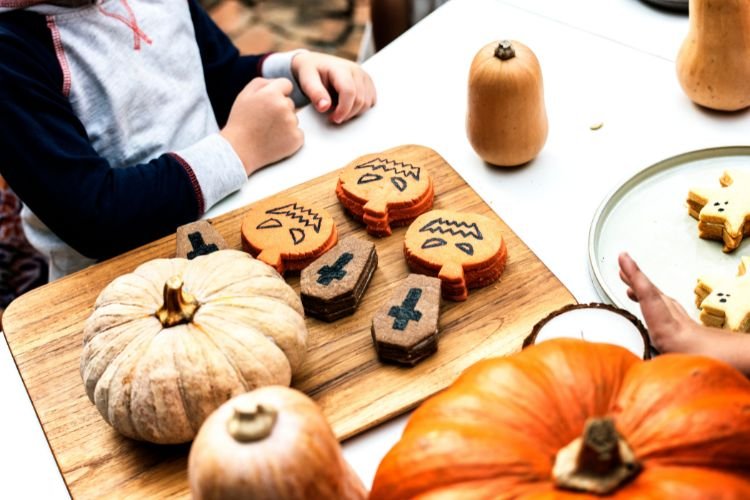
Incorporate themes:
Use your child’s favorite cartoon characters or the season Example Many pumpkin carving kits now include stencils with themes like witches, bats, and skulls to match the Halloween theme.
Experiment with lighting:
For truly unique pumpkins, add a glow stick or use colored lights to enhance your carved designs.
Conclusion:
Pumpkin carving doesn’t have to be tedious or time-consuming. By choosing the right tools, sticking to simple designs, and optimizing your workspace, your family can enjoy a fun and hassle-free craft. Whether you’re carving scary pumpkin faces or using stencils for a simple pumpkin carving area, the key is to have fun working together.
So, grab a pumpkin carving kit, choose your favorite pumpkin carving ideas, and create unforgettable memories with your loved ones. These are for Halloween!


